


Some more progress and, SPOILER ALERT, the motor is in!
- Dec 20, 2020
- 5 min read
Updated: Dec 31, 2021
December 20, 2020
A little over a month ago there was the first progress update in two years. Because of the pandemic I had the time to go up to Sacramento regularly and get moving the project along; Stu welcomed this because he didn’t have time to do it yet wanted to see things go forward. The goal was for me to go up at least once a week, which I’ve been able to do since the last post.
Reassembly presents a strange dichotomy. It is sometimes simultaneously enthralling and frustrating. It is enthralling to reassemble a car that was touched by the hands of God, the Alpina factory, seeing what they did—both sophisticated and, occasionally, somewhat primitive.
But the challenge of finding the parts to reassemble the car is frustrating. The disassembly was haphazard and parts show up in the strangest places in the shop, others missing or found after I’ve ordered new ones. At times it seems I’m spending more time searching the internet for little bits here and there than reassembling the car. On top of that, some of the parts I collected 4 years ago turned out to be the wrong ones (and can’t be returned now) or are just missing. On top of that, there’s the steep learning curve of trying to assemble a car you didn’t take apart.
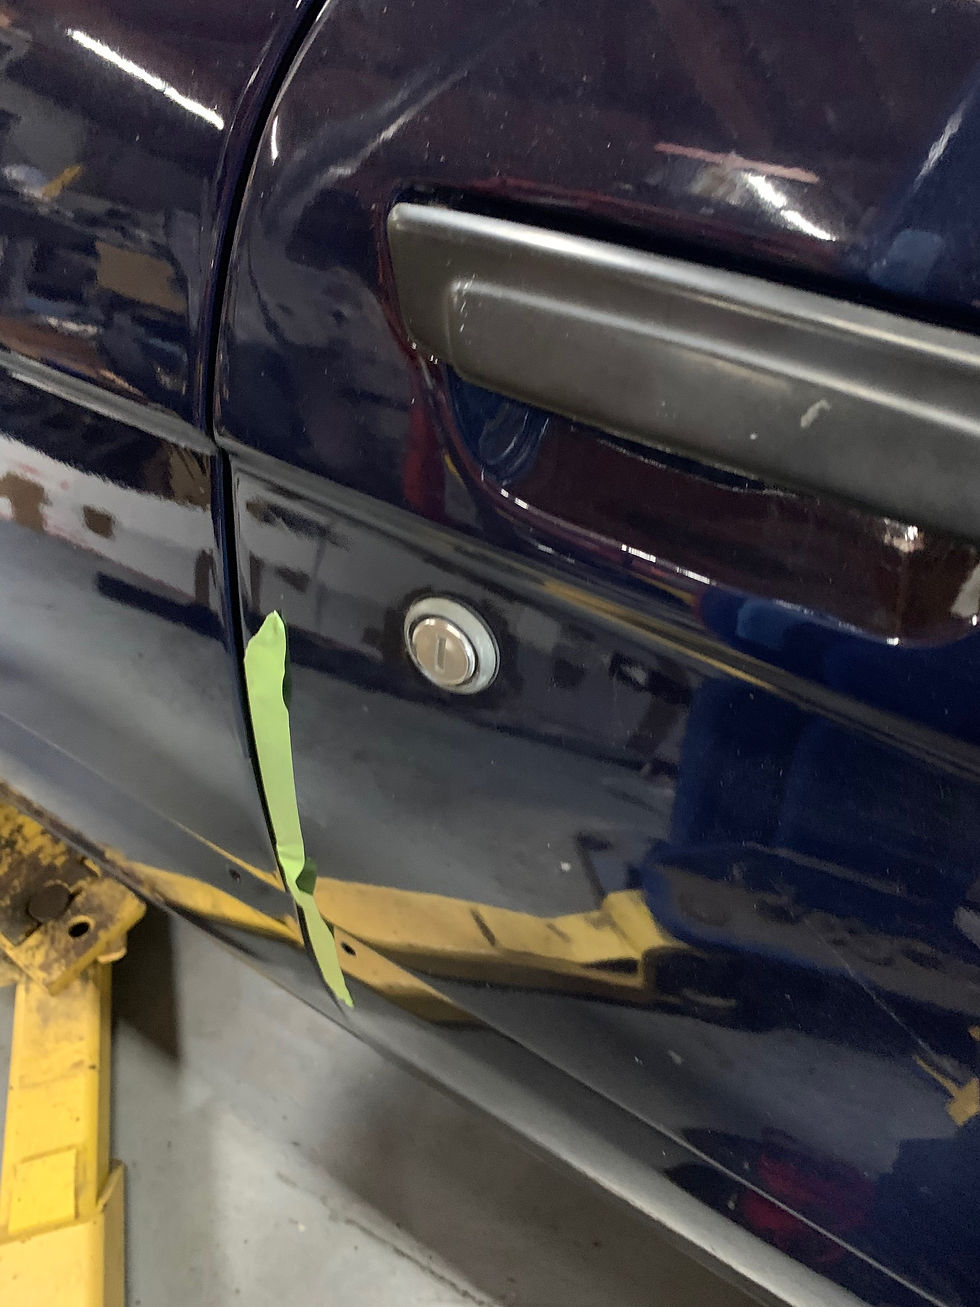
The door locks are great example. They were taken out for painting and the original gaskets were nowhere to be found—probably they deteriorated and were not reusable—and new ones needed to be ordered. New ones were sourced from a local BMW dealer, but they didn’t work—they were round without indents to follow the contours of the lock body. Although the right part number, BMW apparently has consolidated those gaskets with ones from other cars and the “right” part (according to BMW) didn’t fit my car. A search on eBay found the New Old Stock ones that would work but they were in Greece (gotta love the internet!). The vendor had great feedback and several other BMW parts for sale so I clicked buy.

Four weeks later DHL delivered the gaskets and I finally had everything needed to put in the door locks. Getting the lock cylinder into the door was a trick, at least for someone like me who has never done it before. I started with the passenger side. The cylinder seemingly did not fit into the hole in the door; after fruitlessly trying to wiggling it in, I got more and more forceful, pushing it and then finally I held it centered on the hole and hit it with the palm of my hand. It barely went in and fell out as soon as I touched it. But, progress (however slight). A small hammer and gentle taps and it was in, but not by much—maybe a quarter-inch. Hit it a little harder and it went further in. Even harder and it was halfway in. Consistent gentle taps slowly morphed into firmer hits and it was getting closer and closer; it took a mere half an hour to get it firmly planted in the door. Learning how hard I could hit it took time; the fit was so tight it needed some serious force but I didn’t want to wack it too hard and damage the door. Then it took me 15 minutes to figure out how to attach little arm on the back of the cylinder to the lock; adding to the frustration was working in a tight space with no good line-of-sight. But, I figured out what parts of the door innards to disassemble to get room and sight; once I did, it was an easy job. The passenger side took 45 minutes (most of that being the learning curve), but the second one was finished in less than ten minutes. Knowledge is a powerful tool!
Another challenge was figuring out how the bundle of wires was supposed to routed through the engine compartment. I looked at the harness, which had an ugly re-wrap in electrical tape, and it was not at all apparent how to get from the fusebox to the headlights and horns. I inquired on the FaceBook e21 group and I found someone who restored a similar C1 2.3 (really, any e21 would have been fine, but it was great to find someone who did such a great job and documented it with photos). He sent pictures of his wiring and I was in business. I re-wrapped the harness in friction tape and routed it through the engine compartment.


With the wiring in, next was the bumpers. They had been sitting around the shop literally collecting dust. I washed them off and then installed them.


Then I installed the horns and lights and then grills.


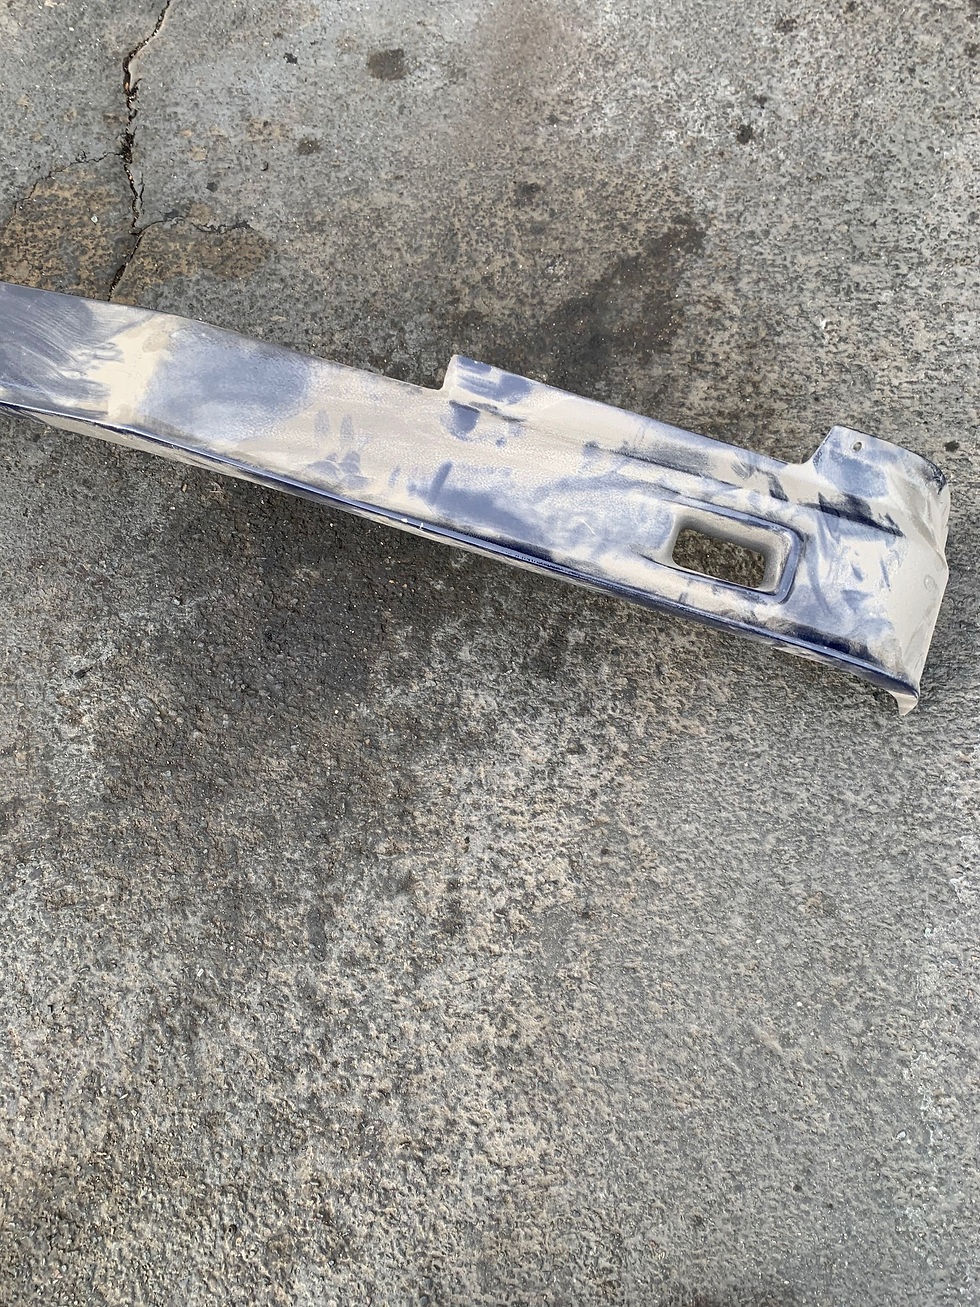
Then air dam. And talk about collecting dust! It looked like it had been painted some weird animal print pattern, but I washed it and it was good to go.
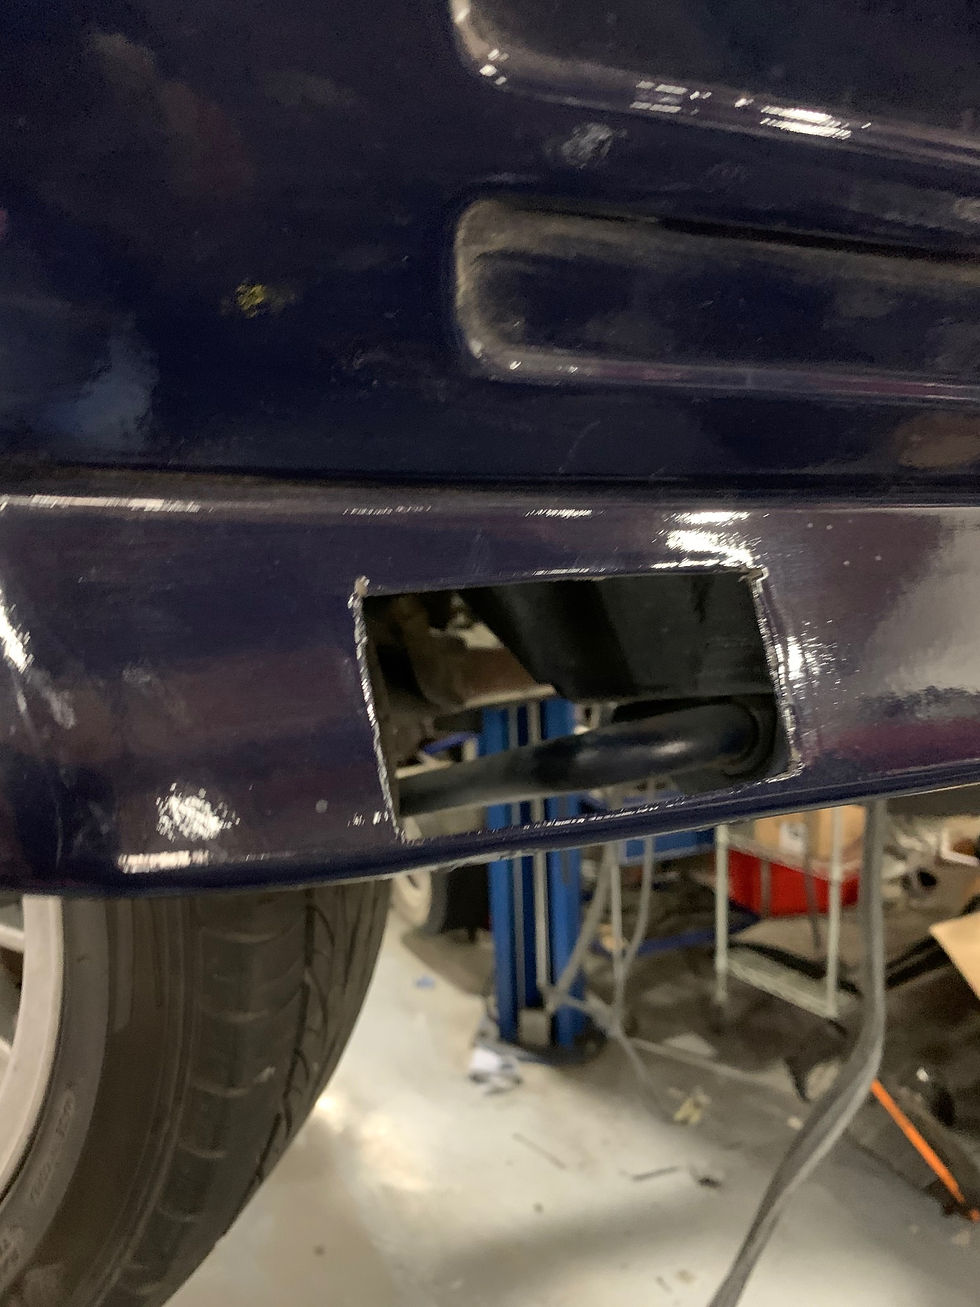
Putting the air dam on the car was one of the interesting archaeological parts of the restoration. The air dam has brake cooling ducts but behind the ducts on a stock body is the lower valance. So the boys at Buchloe cut a rectangle out of the valance to allow the air to flow to the brakes. Those cuts were uneven and kind of primitive. Honestly, they looked like something I would do in my garage!
And sometimes it’s just fun cleaning things up and making them look spiffy; the hood latches were old and rusty, so into the media blaster they went. Quickly they were cleaned up and sprayed with lacquer. A serious improvement.

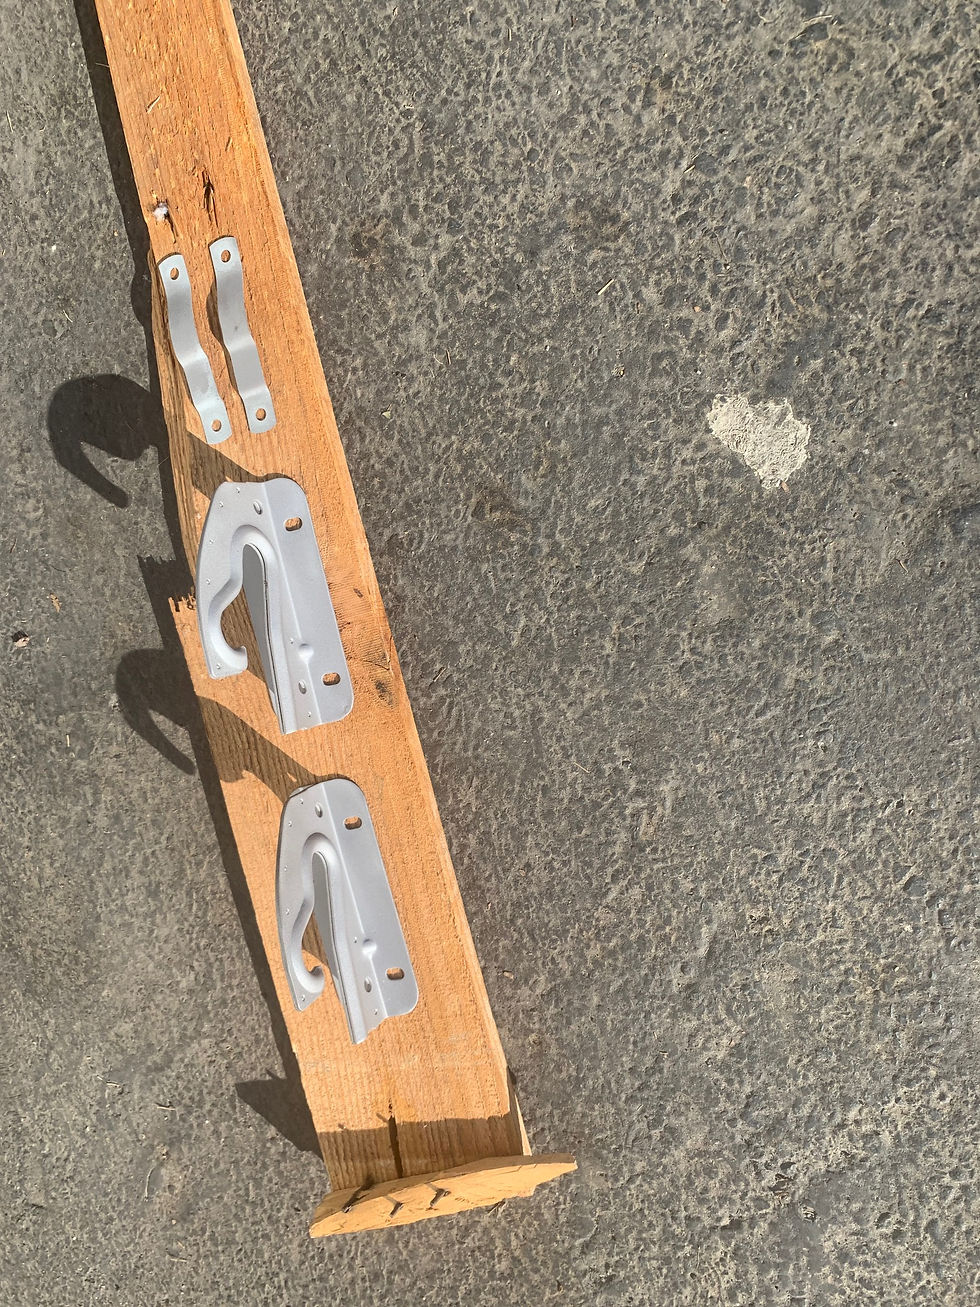
And installed with new hardware.

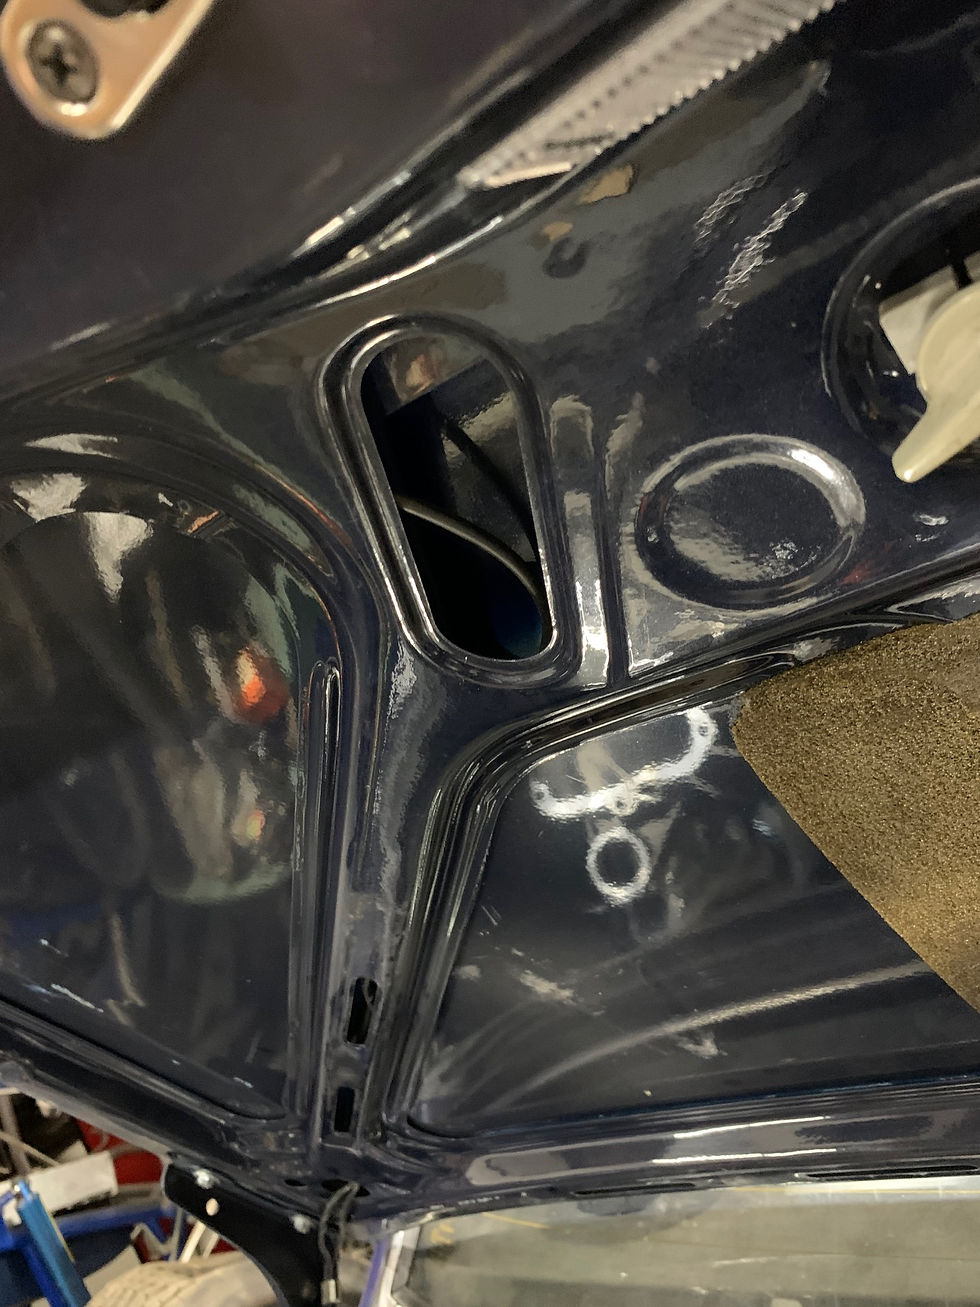
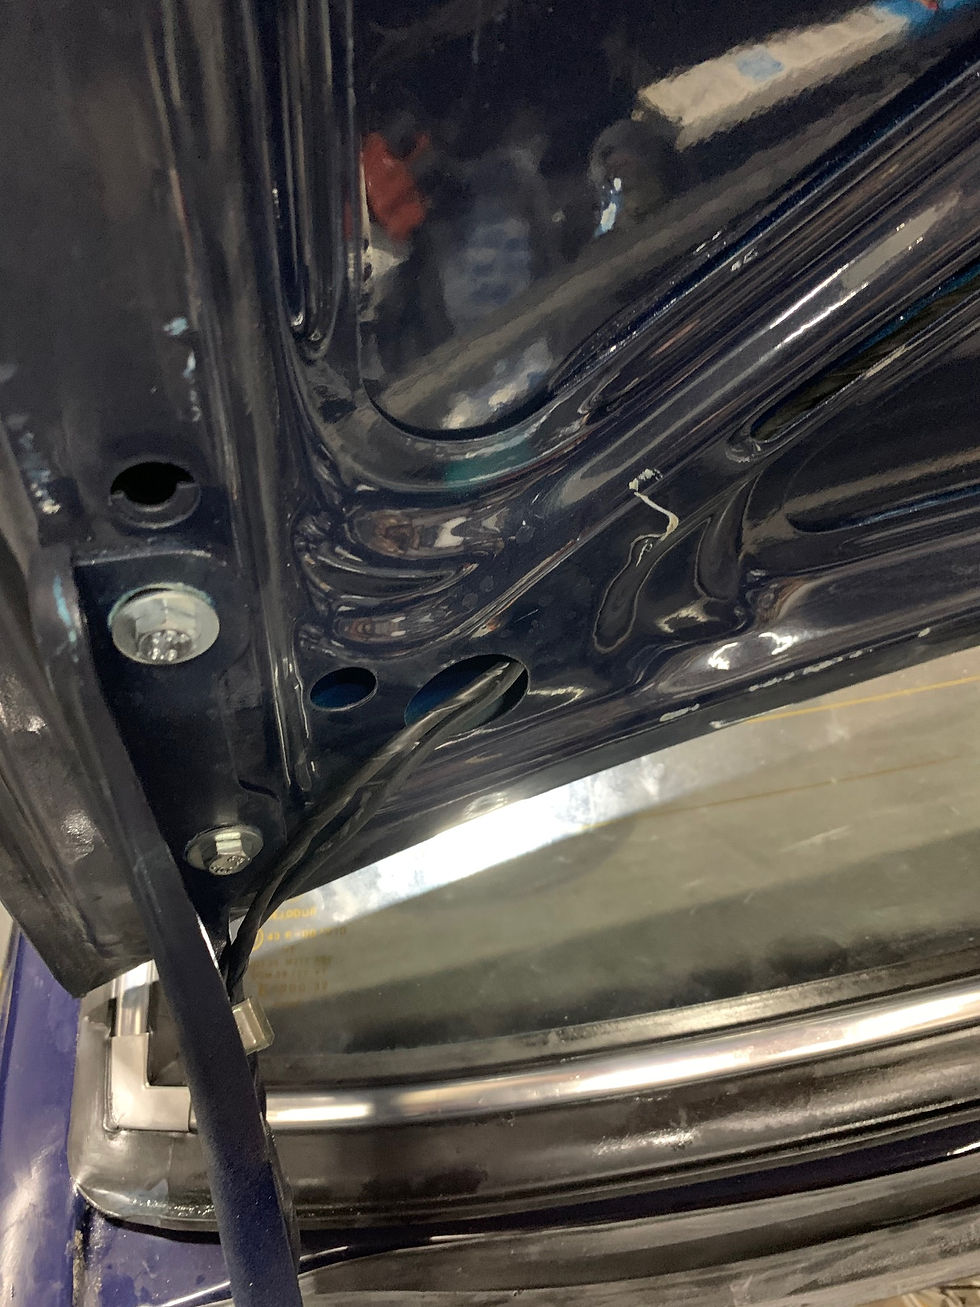
A project like this has a ton of small things that need to be done, like running the wire back through the small channels on the inside of the trunk lid. Fitting the wiring through those channel can be a challenge, but patience and persistence pay off.

But it also has some significant challenges. One was the metal brake line to the caliper on the front passenger side. The original one was bent, weak, and just ugly.

When you buy brake line, BMW provides a straight piece of brake line that you have to bend to fit. What really makes it a challenge is that the line takes a very circuitous route from the master to the caliper and the original line was bent when it was taken out and it couldn’t be used as a template. I got a pic of the route, which was helpful but still not specific enough. We went to a junk yard and were gifted a template (the old rusted line from a carcass of a 320i). Using a template made mimicking the route much easier and the finished product looks as good as from the factory.
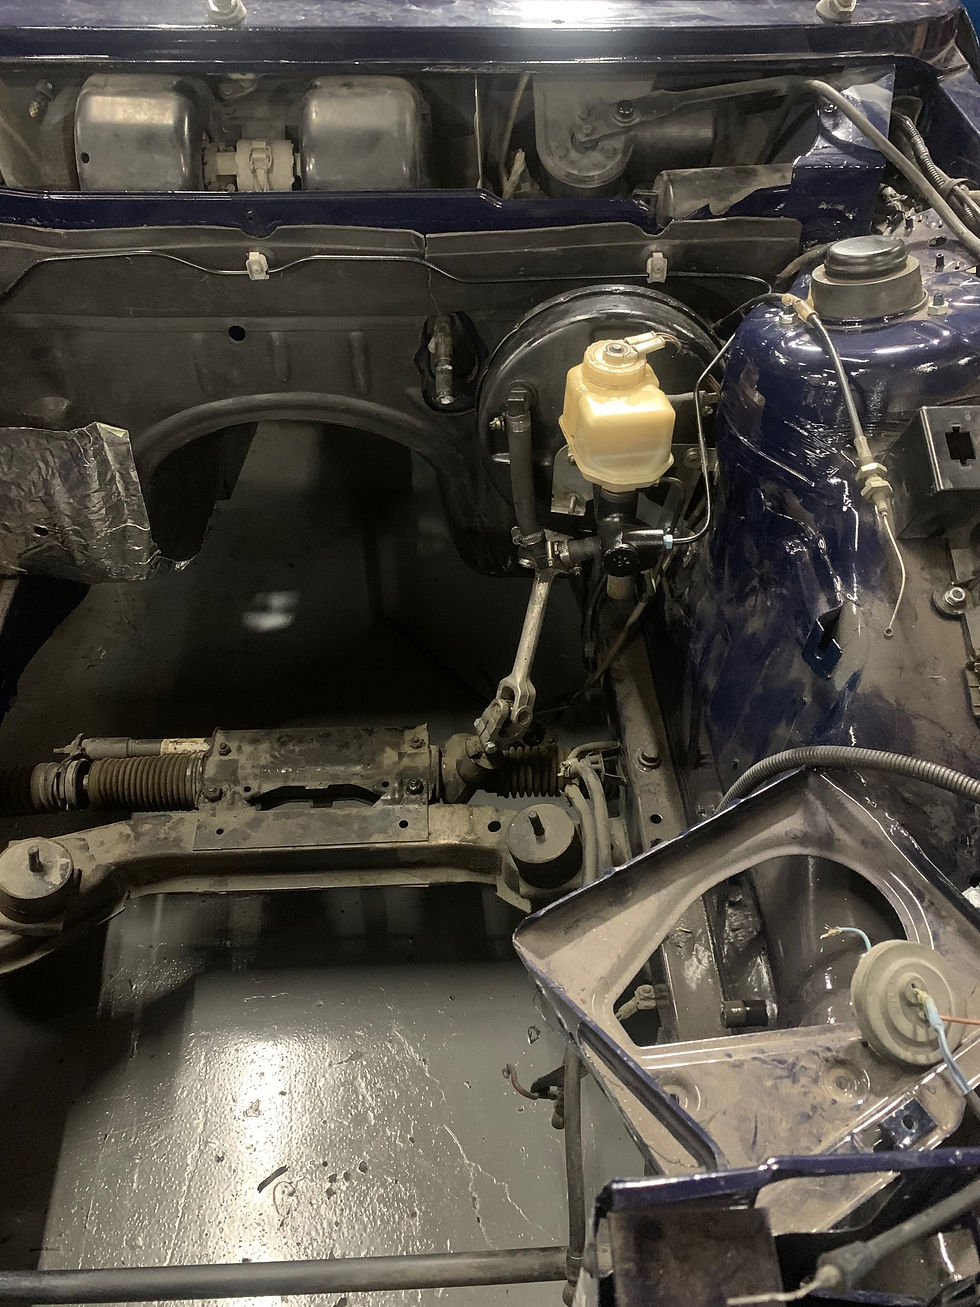
After that, the rest of the brake system—booster, new master cylinder, and reservoir—get installed. The brake master was one of those problems with the delayed project. Four years ago I ordered a new one but when I went to install it, the fittings where the brakes lines screwed in were in the wrong places. Too late to return it, I had to get another new one, this one fitting just right.
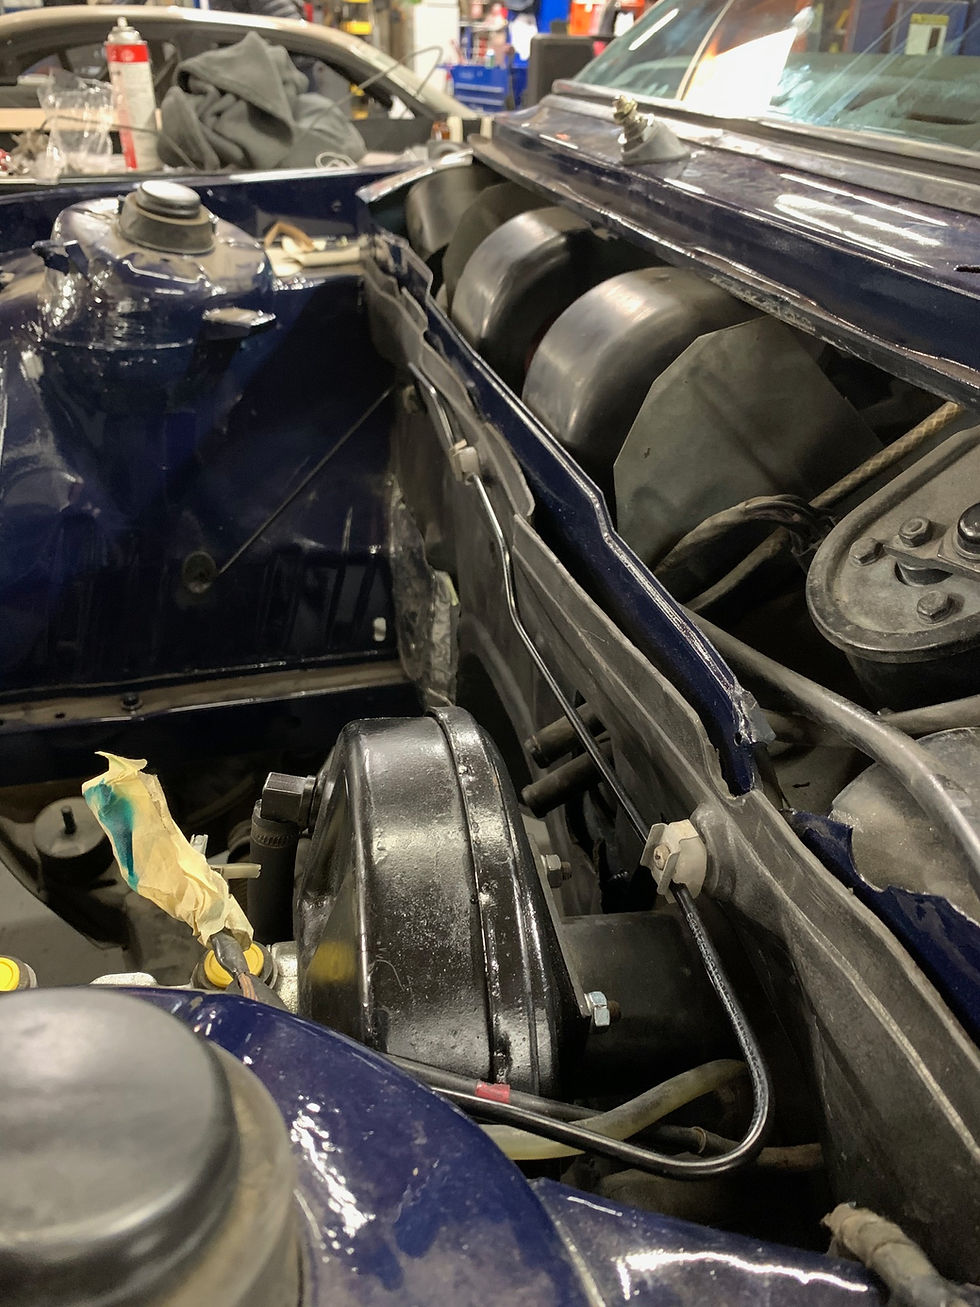
With most of the work done to the engine compartment, it was time to drop-in the motor. Putting in the motor was pretty straight-forward and two nuts later, it was part of the car again.

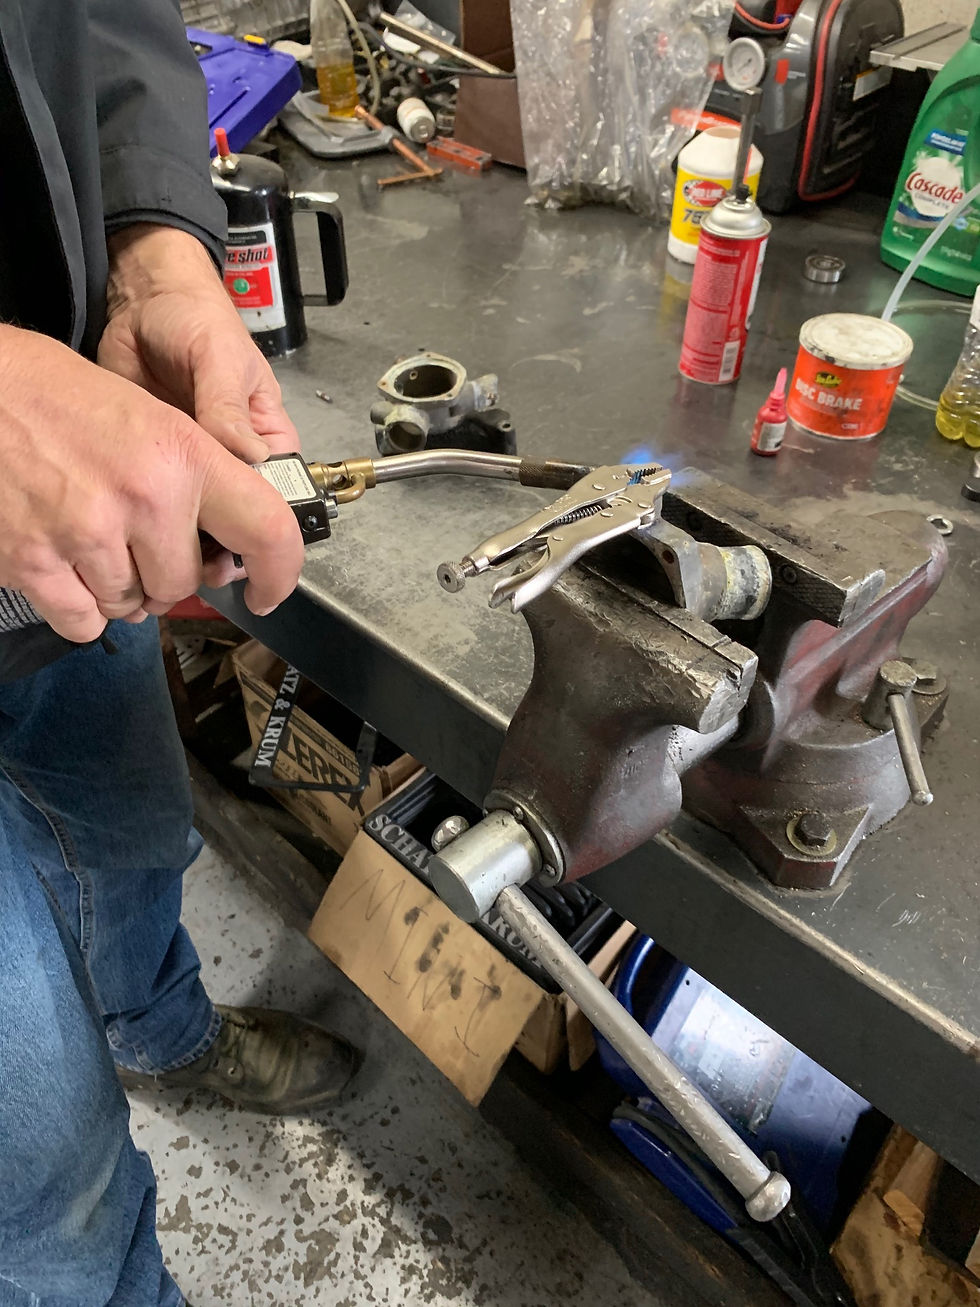
With the long block in, building it up to be a working motor was up next. The old thermostat manifold was not in great shape and need some heat to take it apart.
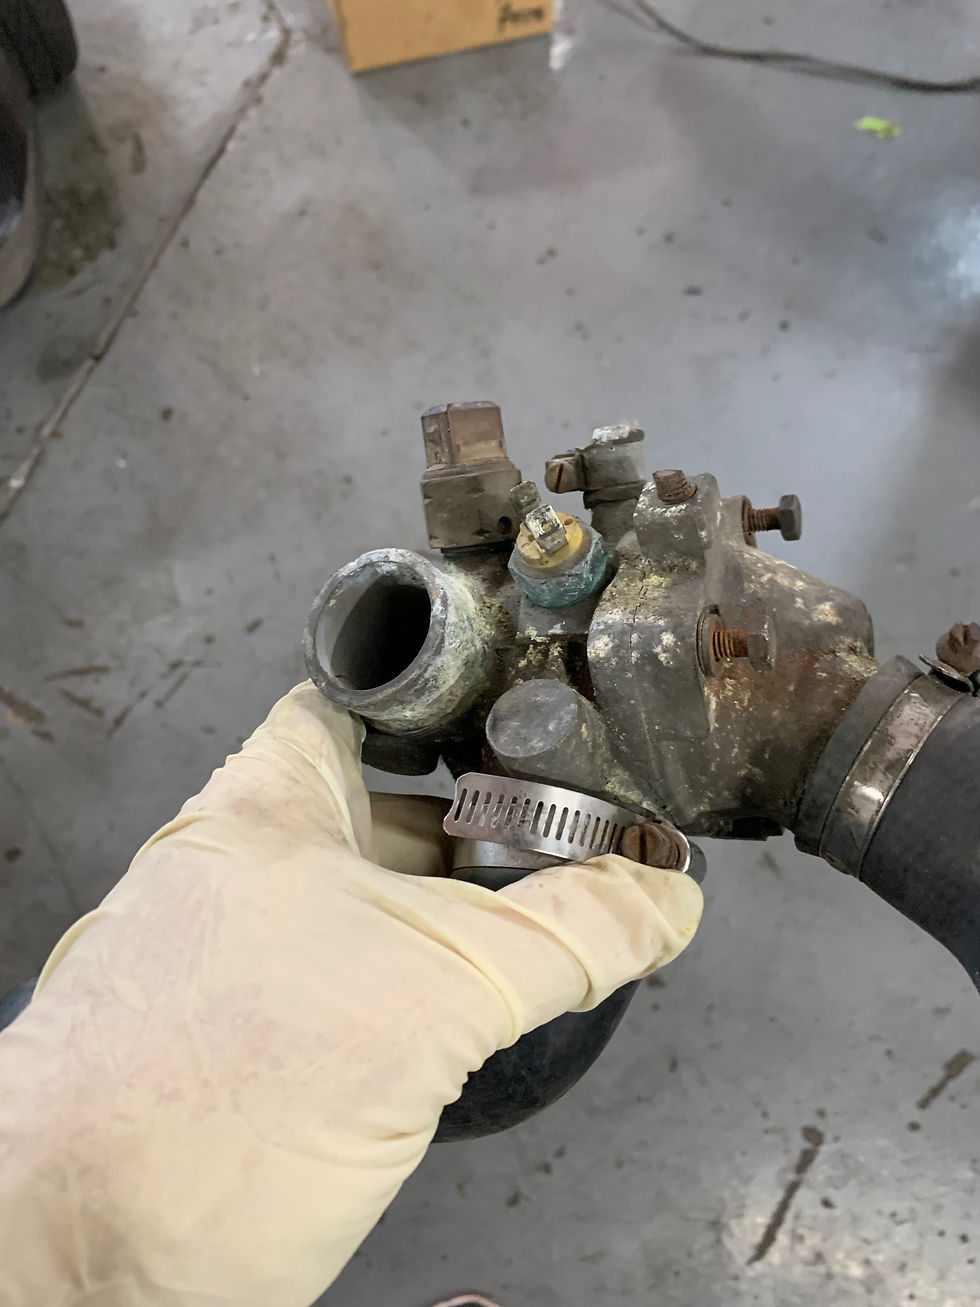
After some quality time on the media blaster, it was as good as new, as was the water pump pulley and alternator bracket. The alternator and throttle body got a bath too and all looked good enough to go on the motor.

Comments